Step 7 — Remote access
By default your gateway listens only on your own machine (127.0.0.1). That's perfect for agents running on the same computer, but a hosted agent like ChatGPT, or one on another device, can't reach localhost.
Remote access fixes that. It gives your gateway a stable public URL, like https://my-laptop.permaura.app, served over a secure tunnel. Two things stay true:
- Your gateway still runs only on your machine. Nothing about your keys or your data moves to the cloud.
- The tunnel is just a pipe to your gateway. Agents authenticate to Permaura and your gateway verifies them; the bytes go straight to your machine.
This is what makes the no-code remote agent flow possible.
Turn it on
How you turn it on depends on how you run your gateway. The desktop app can do the whole thing itself; running the gateway yourself takes one command.
- Desktop app (easiest)
- Headless / CLI
With the desktop app
Open the app's Settings → Remote access and flip the switch. That is the whole step: the app asks Permaura for a tunnel, starts it, and relaunches your gateway to serve it. When it settles you get a green dot and your public URL, with a button to copy it.
Your gateway is given a readable name on permaura.app — usually taken from your computer's name, so
a Mac called my-laptop ends up at https://my-laptop.permaura.app.
That name is yours to keep. It stays reserved for this gateway whether remote access is on or off, so switching it off for an afternoon gets you the same address back and nobody else can take it in the meantime.
To choose the name yourself, open Advanced settings under the switch, type one, and press Save. The same row can point the gateway at a domain you already own — pick custom domain from the dropdown and enter it, which is the bring your own route below.
Your public URL is the name. Change it and the old URL stops working, so any agent still pointed at it loses its connection until you update it. The app asks you to confirm before making the change.
To turn it off later, flip the same switch off.
Running the gateway yourself
Open Settings → Gateway in the console. Your gateway has a Remote access control with two mutually-exclusive modes — a managed tunnel (the switch) or your own public URL (under Advanced):
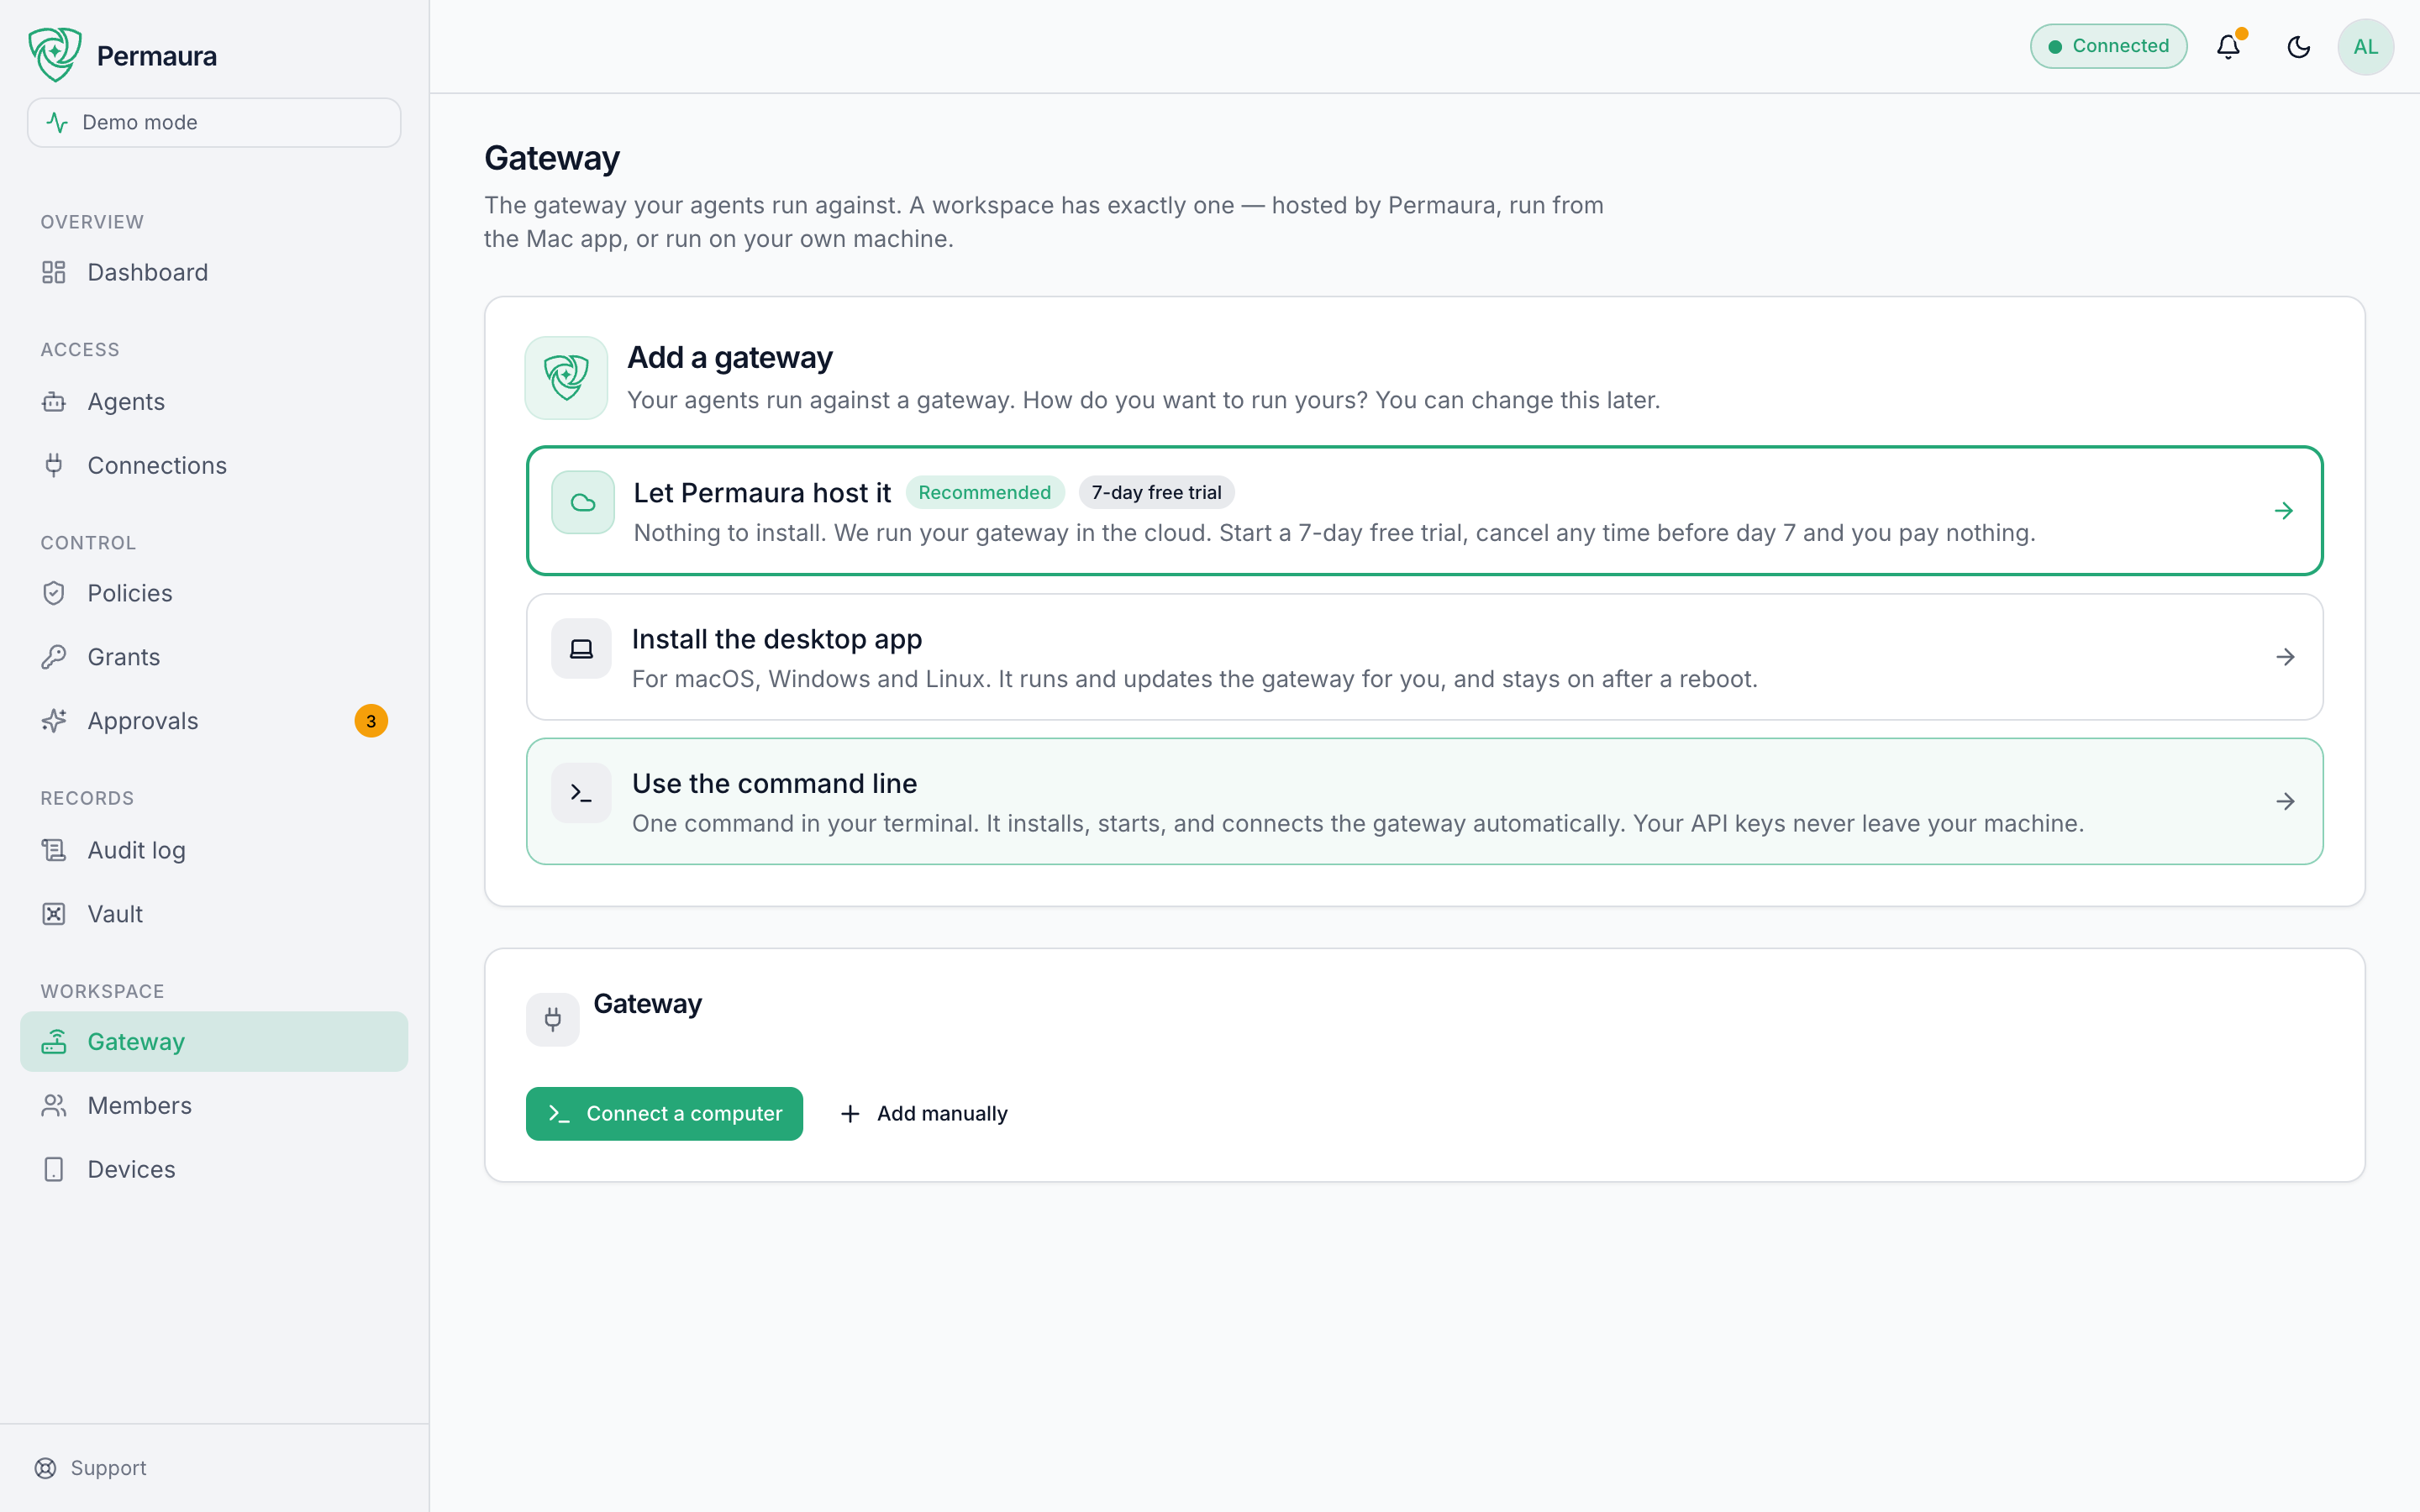
Flip it on. Permaura provisions the tunnel and shows you the public URL, plus what your gateway needs to start serving it:
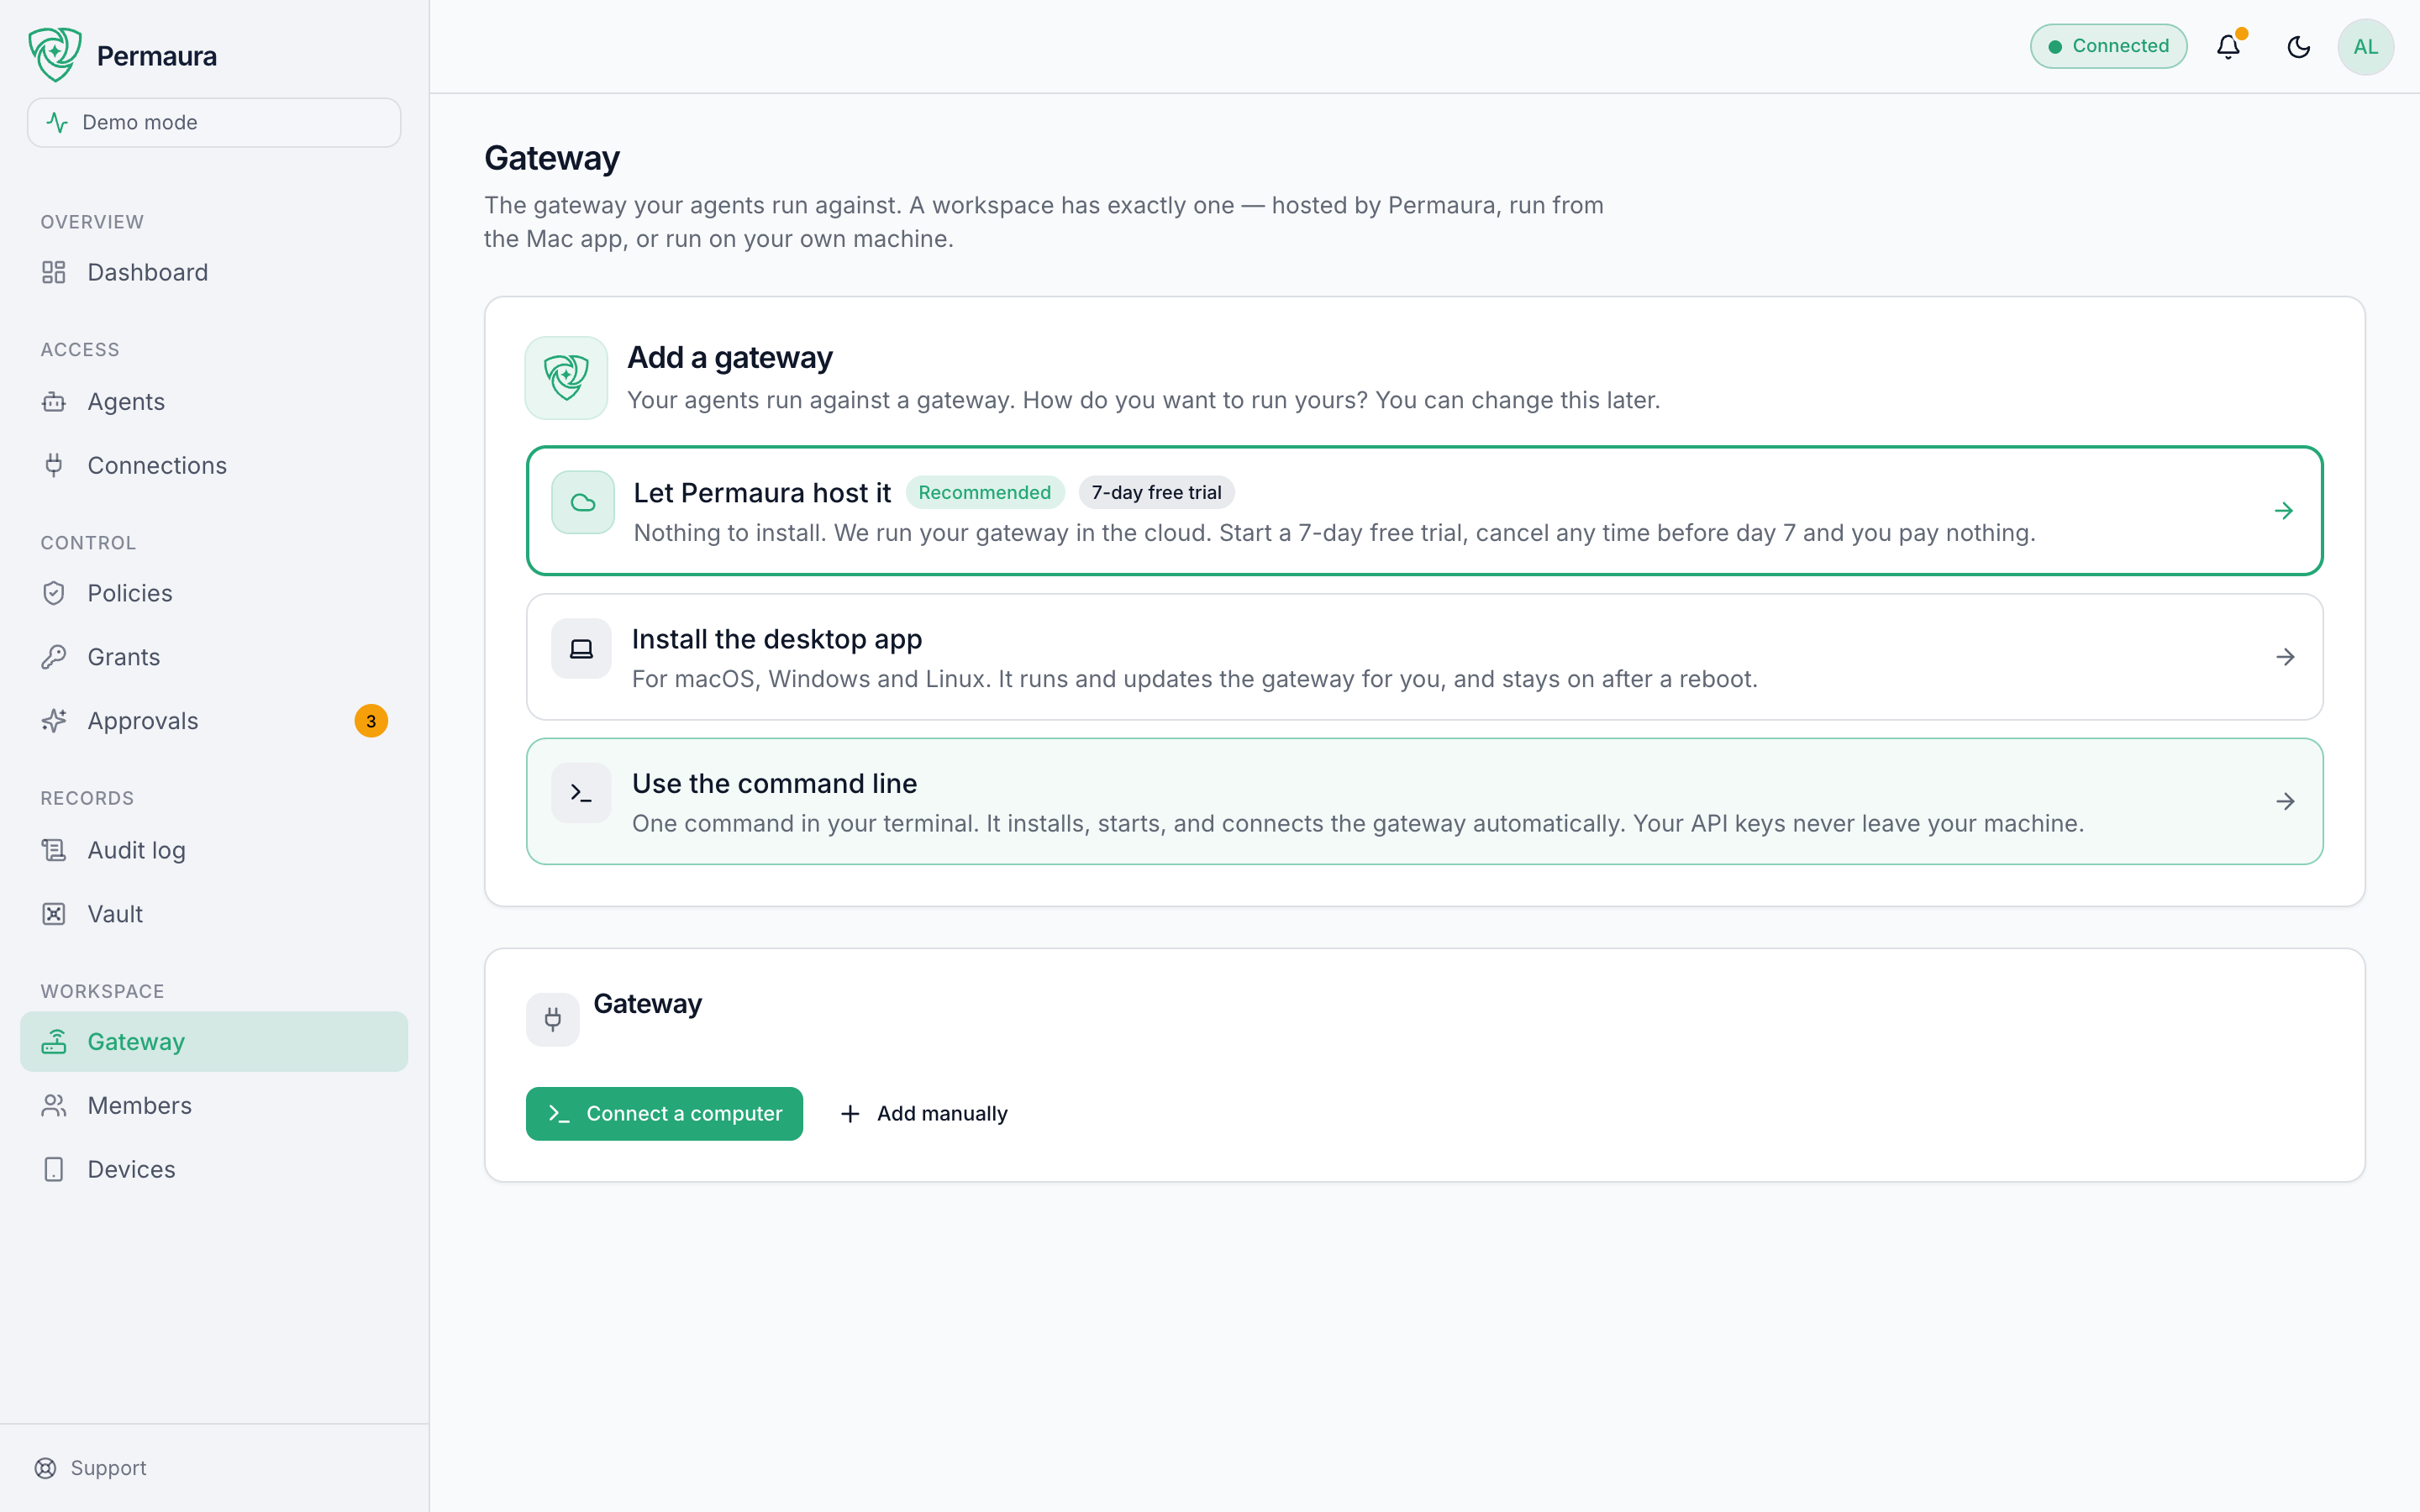
If you run the gateway from the terminal (curl … | sh, npx, or the binary directly) rather than the app, the console gives you two commands to run once. Copy them from the Remote access panel after you flip the switch on:
-
Start the tunnel — runs the connector that links your public URL to your local gateway:
cloudflared tunnel run --token <your-token>(Install
cloudflaredfirst if you don't have it:brew install cloudflared.) -
Restart the gateway with remote access set — these environment variables turn your gateway into a resource server bound to your tunnel and your account:
PERMAURA_PUBLIC_URL=https://my-laptop.permaura.app \PERMAURA_OWNER_SUB=<your-user-id> \PERMAURA_AS_ISSUER=https://permaura.com/api/auth \PERMAURA_AS_JWKS=https://permaura.com/api/auth/jwks \permaura
The console fills in the real values for you; the token is shown only once, so grab it while the panel is open.
The tunnel alone isn't enough. Until the gateway is restarted with PERMAURA_PUBLIC_URL set, it won't verify Permaura sign-ins, and remote agents won't be able to connect. The desktop app does both steps for you; running headless, do both.
Bring your own tunnel
Prefer to run your own tunnel — ngrok, a Tailscale Funnel, or a domain you own? Under Advanced, choose Bring your own and paste the public URL your gateway is reachable at. Use your own domain covers that end to end: DNS, TLS, the proxy shape and the headers the gateway needs. Permaura registers that URL as the sign-in audience and stays out of the path entirely; it's only the handshake. Saving a bring-your-own URL turns off the managed tunnel, and vice versa — a gateway uses one or the other, never both.
The gateway tells local traffic from tunnelled traffic by the standard forwarding headers an HTTP tunnel stamps on every request (ngrok, Tailscale Funnel, and Cloudflare all do). A raw TCP forwarder — ssh -R, a bare socat pipe — adds none, so remote traffic would look local to the gateway and reach controls that must stay loopback-only. Don't point one at a gateway.
Remote access (managed or bring-your-own) is a Pro feature. On the free plan the switch prompts you to upgrade.
You're remote-ready
Once it's on, your gateway has a public URL and is verifying Permaura sign-ins. Head back to Connect an agent; the Remote tab now shows your URL, and any agent — including ChatGPT — can connect from anywhere.
Turning it off
Flip the Remote access switch off in the console. Permaura tears the tunnel down, and (with the desktop app) your gateway is relaunched back to local-only. Running headless, stop cloudflared and restart the gateway without the PERMAURA_PUBLIC_URL variable.
The public hostname is stable: if you turn remote access off and on again later, you get the same URL, so anything you've already pointed at it keeps working.
That's almost always the gateway not being restarted with PERMAURA_PUBLIC_URL set. Troubleshooting → Remote access walks it through.